1.3. Logging In
The next step to using your Red Hat Enterprise Linux system is to log in. When you log in, you are introducing yourself to the system (also called authentication). If you type the wrong user name or password, you will not be allowed access to your system.
Unlike some other operating systems, your Red Hat Enterprise Linux system uses accounts to manage privileges, maintain security, and more. Not all accounts are created equal: some accounts have fewer rights to access files or services than others.
 | Note |
|---|---|
Red Hat Enterprise Linux applications and files are case sensitive, which means that typing root refers to a different account than Root. By default, root refers to the root user (also known as the superuser), or system administrator. |
If you have already created and logged in to a user account, you can skip ahead to Chapter 2 Using the Graphical Desktop. If you created only the root account, refer to Section 1.6 Creating a User Account to learn how to set up a user account.
If you did not create a user account using the Setup Agent, you must log in as root. After you create a user account, it is highly recommended that you log in as that user instead of root to prevent accidental damage to your Red Hat Enterprise Linux installation.
 | Caution |
|---|---|
Because your Red Hat Enterprise Linux system creates the root account during installation, some new users are tempted to use only this account for all of their activities. This is a dangerous idea, because the root account is allowed to do anything on the system. You can easily damage your system by accidentally deleting or modifying sensitive system files. You may be tempted to forego creating and using a user account during or after installation, but it is not recommended. |
1.3.1. Graphical Login
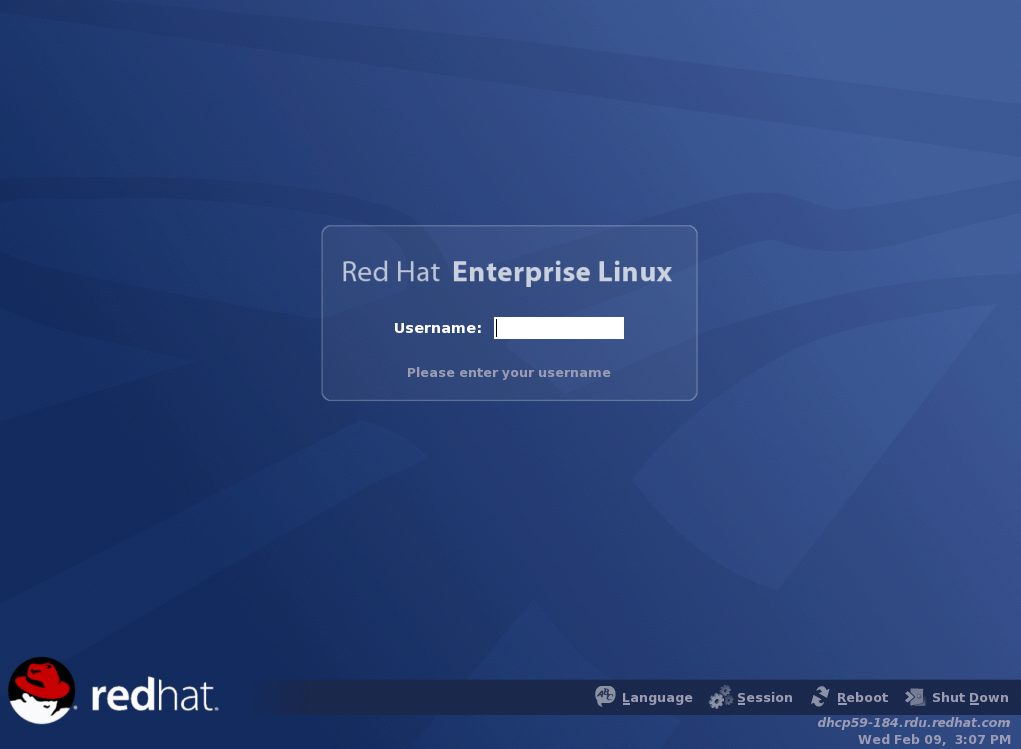
When your system has booted, a graphical login screen is displayed as shown in Figure 1-14. Again, unless you have chosen to give your machine its own hostname, which is primarily used in a network setting, your machine will probably be called localhost.
To log in as root from the graphical login screen, type
root at the login prompt, press
Logging in from the graphical login screen automatically starts the graphical desktop for you.
1.3.2. Virtual Console Login
During installation, if you selected an installation type other than Workstation or Personal Desktop and chose text as your login type, you will see a login prompt similar to the following after booting your system:
Red Hat Enterprise Linux release 4 Kernel 2.4.21-3.EL on an i686 localhost login: |
Unless you have chosen to give your machine its own hostname, which is primarily used in a network setting, your machine will probably be called localhost.localdomain.
To log in as root from the console, type root
at the login prompt, press
After logging in, you can type the command startx to start the graphical desktop.
